How to Run and Use a Full Node
Table of Contents
In order to improve decentralization of service, every user can run his own full node (often referred to non-block-producing witness node) and we here show how to do so.
Installation and build the Node
For the installation of the Graphene Core, please see the Installation Guide:
To reduce compilation time, you can tell the compile infrastructure to only compile the witness_node by running.:
$ make witness_node
instead of:
$ make
Run a Full Node
In order to run a full node that we can connect to, we need to open the RPC interface, this can be done by:
./programs/witness_node/witness_node --rpc-endpoint="0.0.0.0:8090"
This will open port 8090 and make it available over the internet (unless you run behind a router/firewall).
If you want to open only your (local) machine, replace 0.0.0.0 by localhost (e.g., –rpc-endpoint=”127.0.0.1:8090” ).
Note
Full node needs to synchronize the blockchain with the network first, which might take a few hours or days.
Connect to your own Full Node (GUI)
In your wallet (may it be the light wallet or a hosted wallet) you can can define the full node to which is should connect to in the preferences:
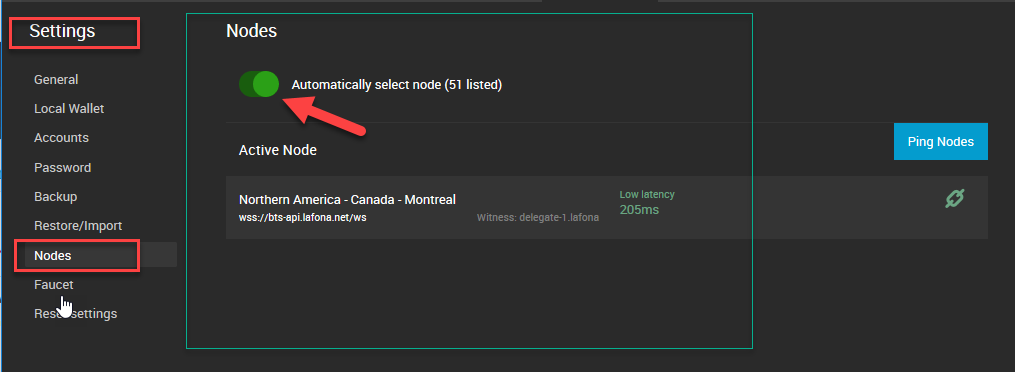
Open Side Menu and selsct [Settings]
In the Settings, click Nodes
If **Automatically select node is
ON, click toOFFthe switch.
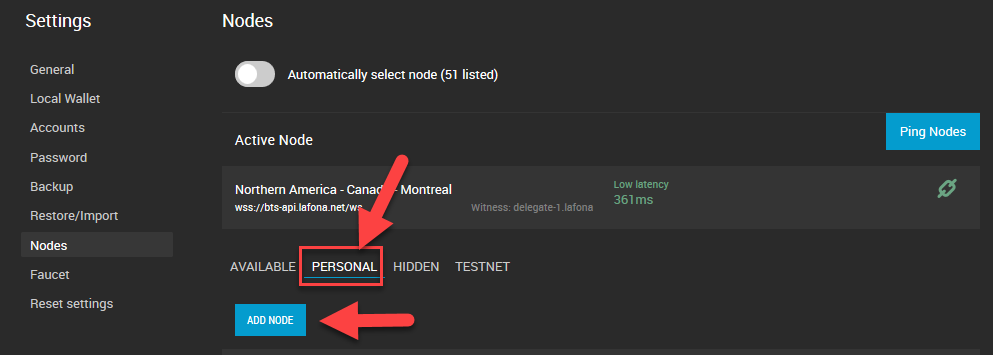
There are four tabs. [AVAILABLE], [PERSONSL], [HIDDEN], and [TESTNET].
Click [PERSONAL] and [ADD NODE]
An Add Node form opens. Type,
NAME: (a node name )
ADDRESS: (a node address)
For your own full nodes address, type:
ws://localhost:8090
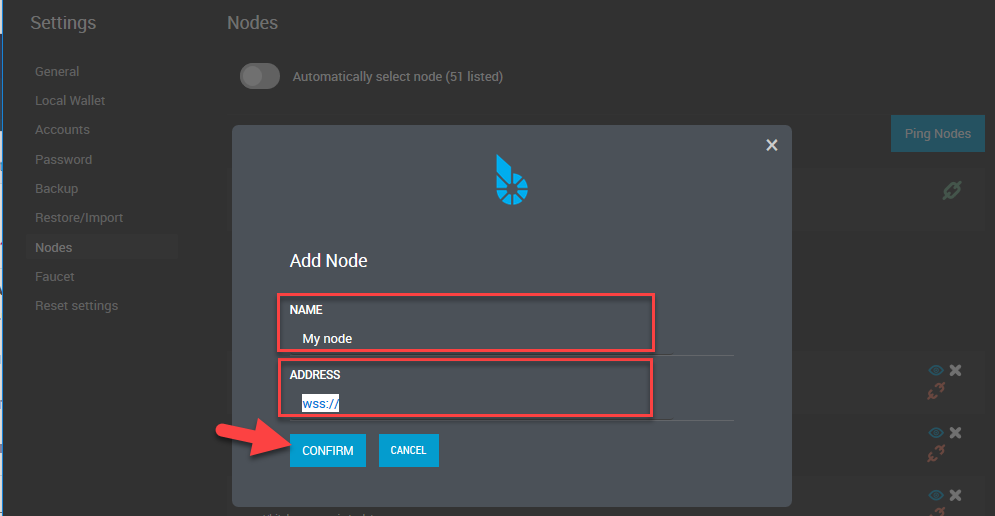
Click [CONFIRM].
Congratulation, you are now connected to the network via your own full node.